
VARNISHING & FINISHING
Once carved, layers of varnish is applied. Some props also require brass-work, paint or fabric
Click the photo to enlarge. (Best viewed on a computer or tablet)

A Fokker DR1/D8 ready for varnishing

A Fokker DR1/D8 sitting in a jig ready for spraying (varnish)

A Fokker DR1/D8 sitting in a jig ready for spraying (varnish)

A Fokker DR1/D8 sitting in a jig ready for spraying (varnish), with some masters in the background

A Fokker DR1/D8 sitting in a jig ready for spraying (varnish)

A 10 foot (3 metre) RE8/ BE12 propeller

Clerget prop in foreground, RE8/BE12 4-blader in background

Jeff sanding between coats of varnish

Scraping blade prior to sanding

Clerget propeller getting sanded and size-checked

Packaging up a Tiger Moth prop
Paint finish on a Tiger Moth prop

Paint finish on a Tiger Moth prop (matte black and shiny black)

Paint finish on a Tiger Moth prop

Sanding in between varnish coats on the RE8/BE12 prop

Rough-sanding

Matte finish on RE8/BE12 prop. 1933 Morgan car in the background (another photo of this car in the "Bits & Pieces" gallery

Sanding BE2 prop, RE8 prop in background ready for dispatch

Close-up of the stampings on a BE2 hub

Close-up of a DH4 hub

(upside down) Prop description stamped on hub

(bad photo) but shows the varnish finish and the stampings on a Tiger Moth prop

Sopwith triplane hub

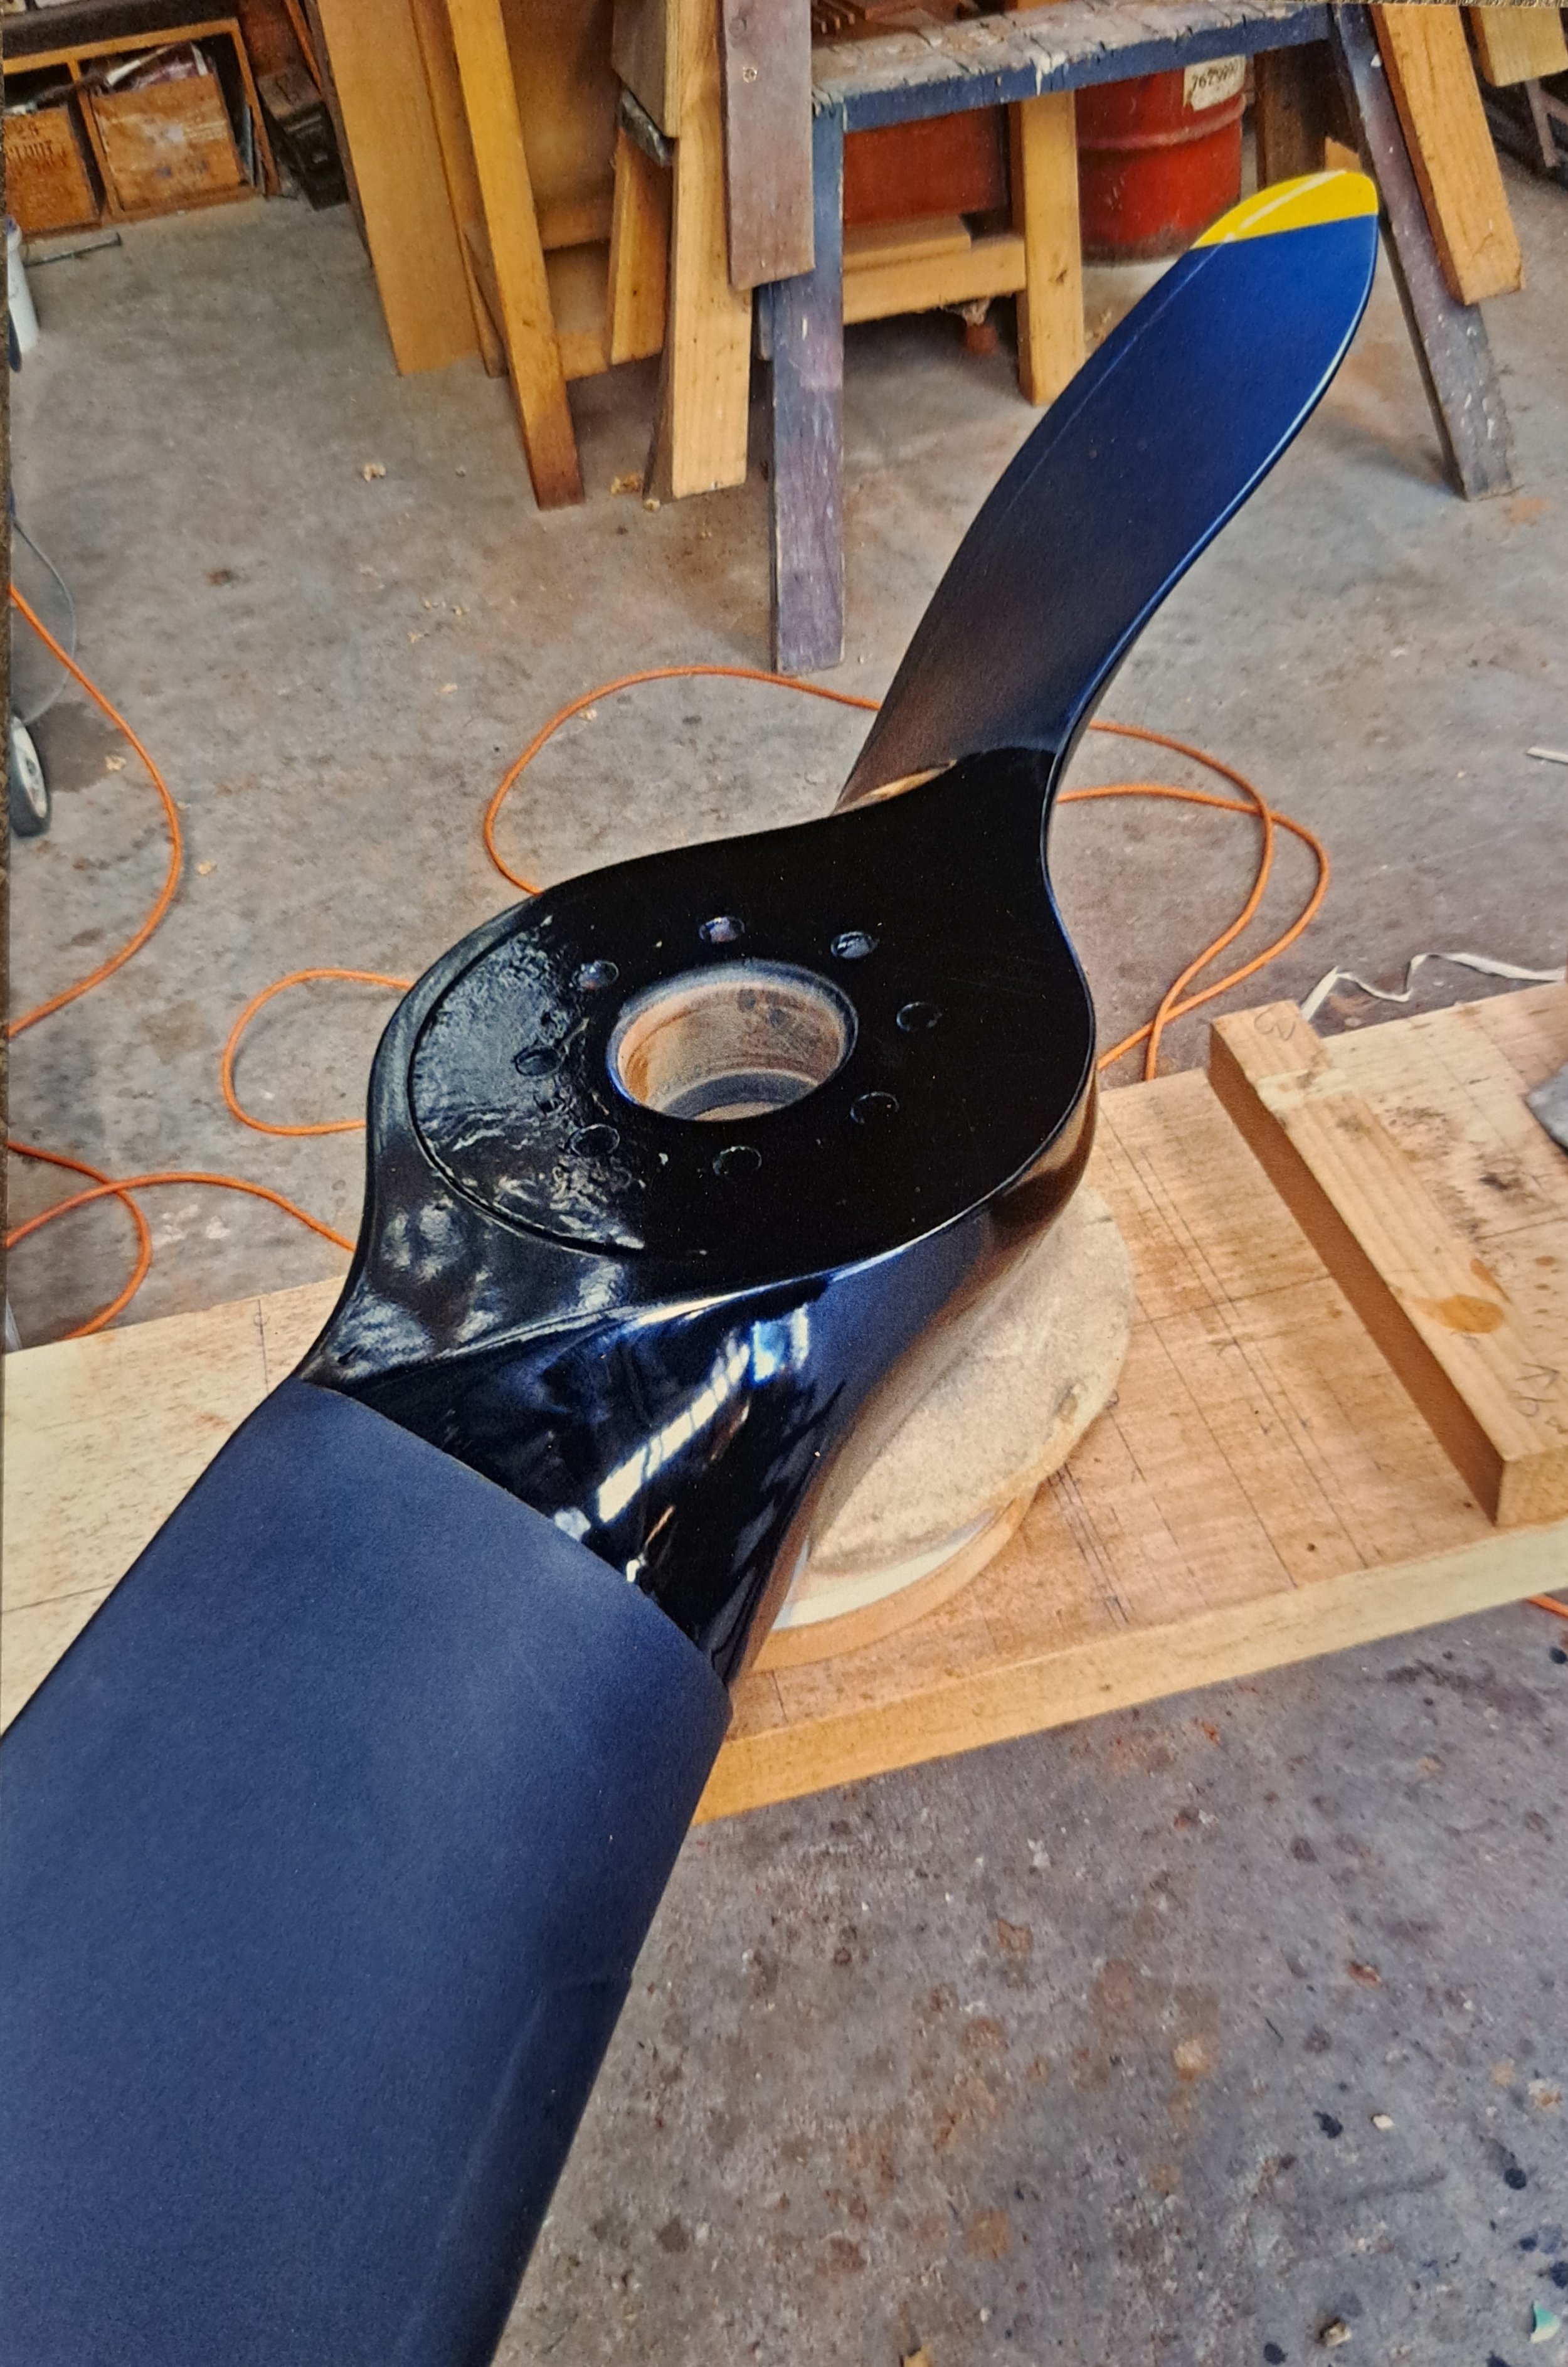
Finished Camel propeller

Finish on the varnished blades

Stampings on a Genet Moth prop

Stampings on the Morane Saulnier prop

Stampings on a Sopwith Camel prop

Brass leading edge and tips to a clear-finished Tiger Moth

Shiny finish on a CAMS Gnome rotary engine

Look at that beautiful colour and shine! Photo courtesy of CAMS

Two Tiger Moth props on the varnishing jigs. They are put here to be sprayed, then they're slowly rotated to ensure no drips, an even spread, and a nice drying process

The mirror-shine of a Tiger Moth prop... Hub stampings show that this is a bona-fide Fox Prop, below is the diameter and pitch of the blades, and then the Fox Props NZ propeller number and year

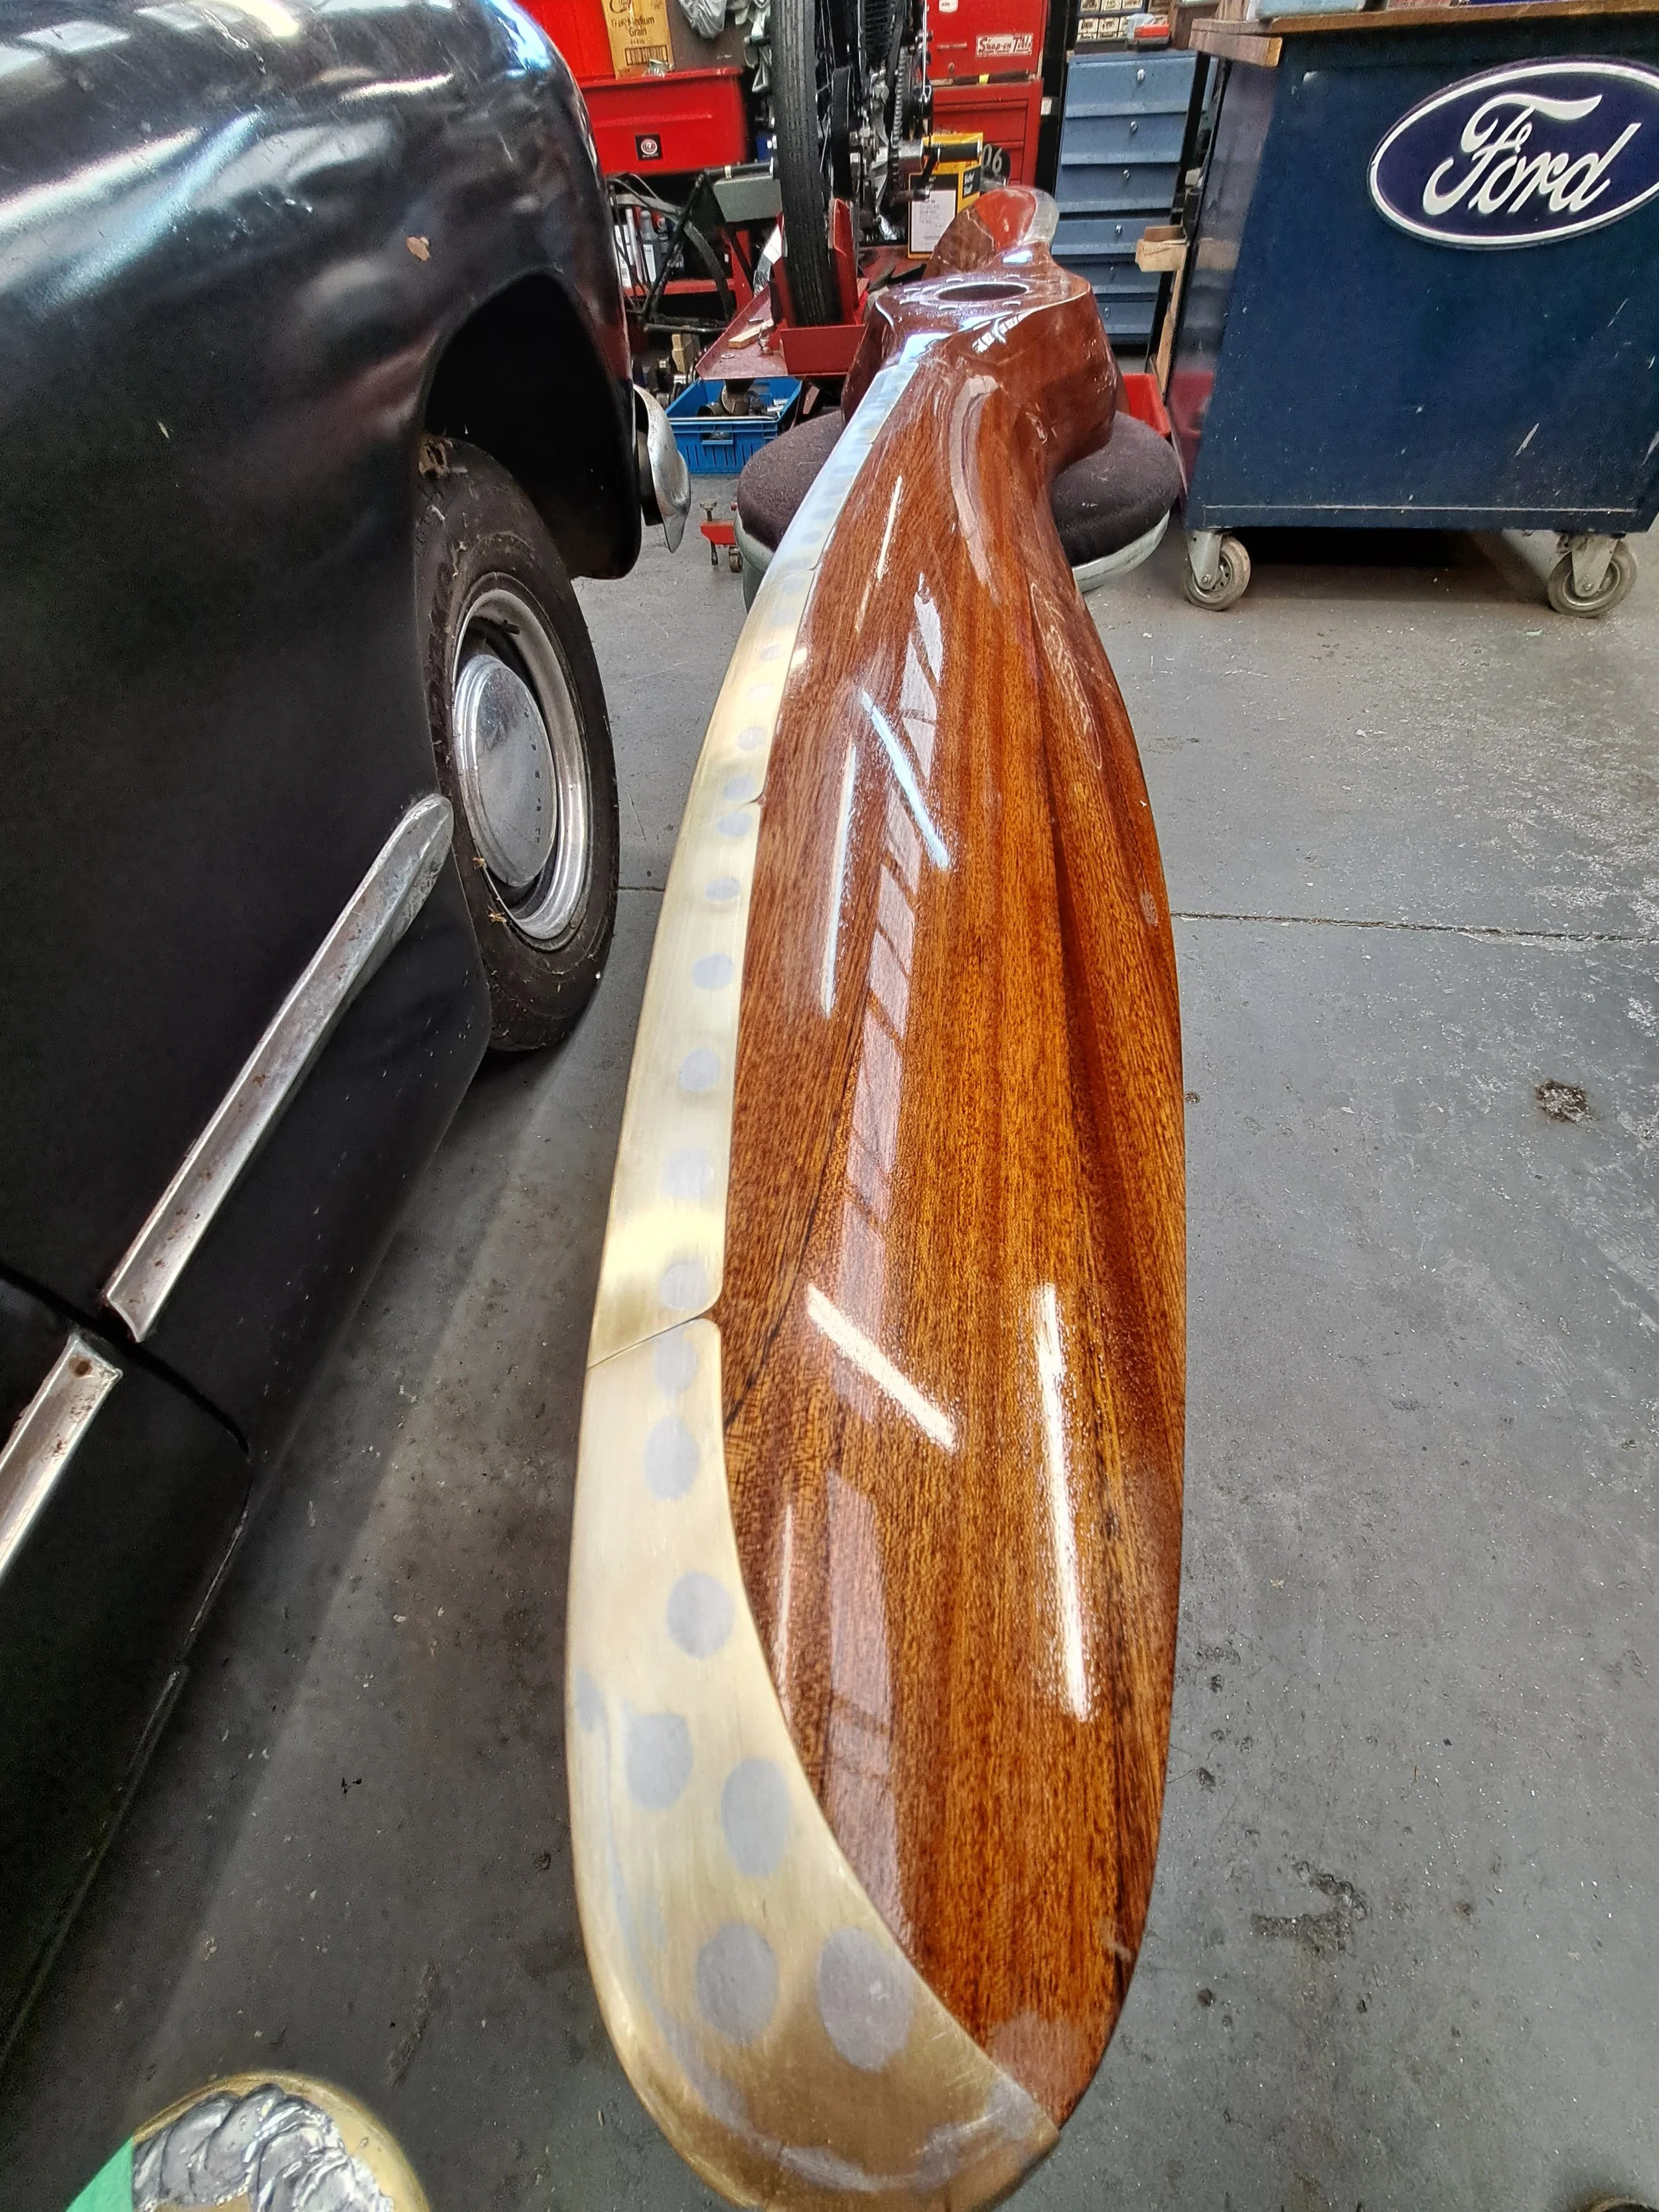
The mirror-shine of a Tiger Moth prop post varnishing

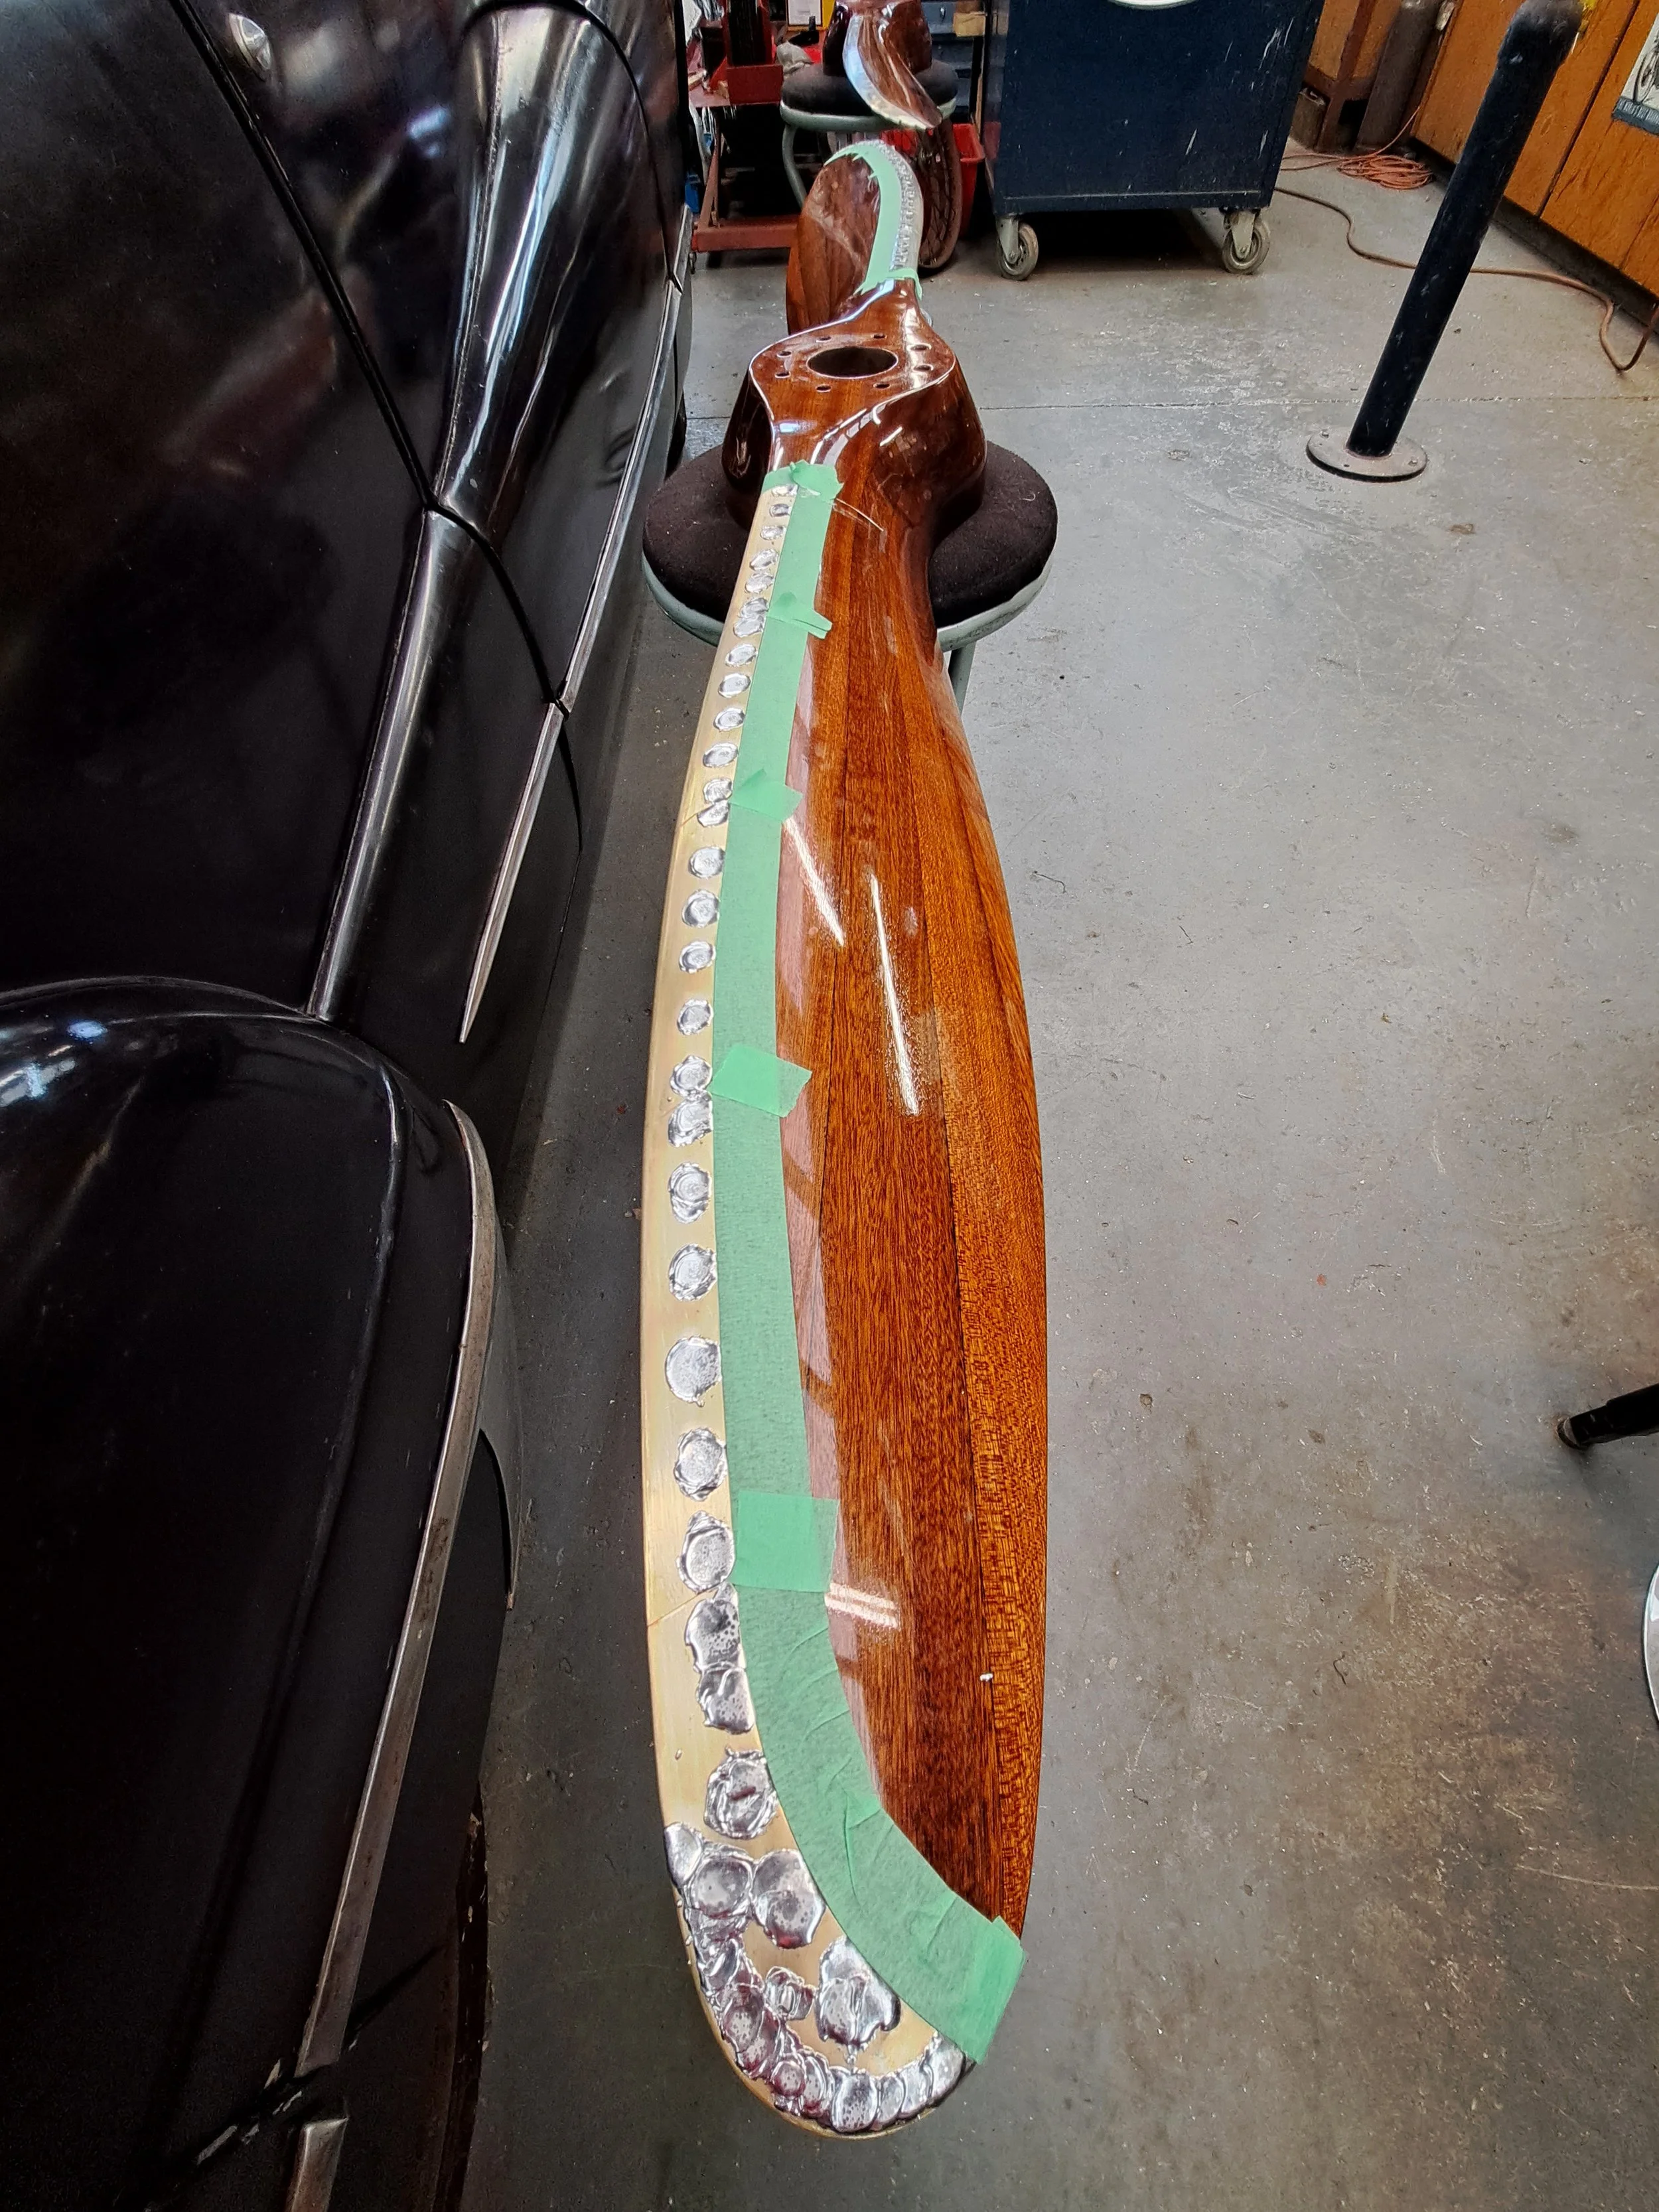
The mirror-shine of a Tiger Moth prop - the work to add the brass edging begins. This piece of brass still needs to be cleaned up before it's fitted onto the tip properly

Tiger Moth tips. The one on the right has been soldered and filed down (completed), the one on the left has been soldered but not filed or finished just yet
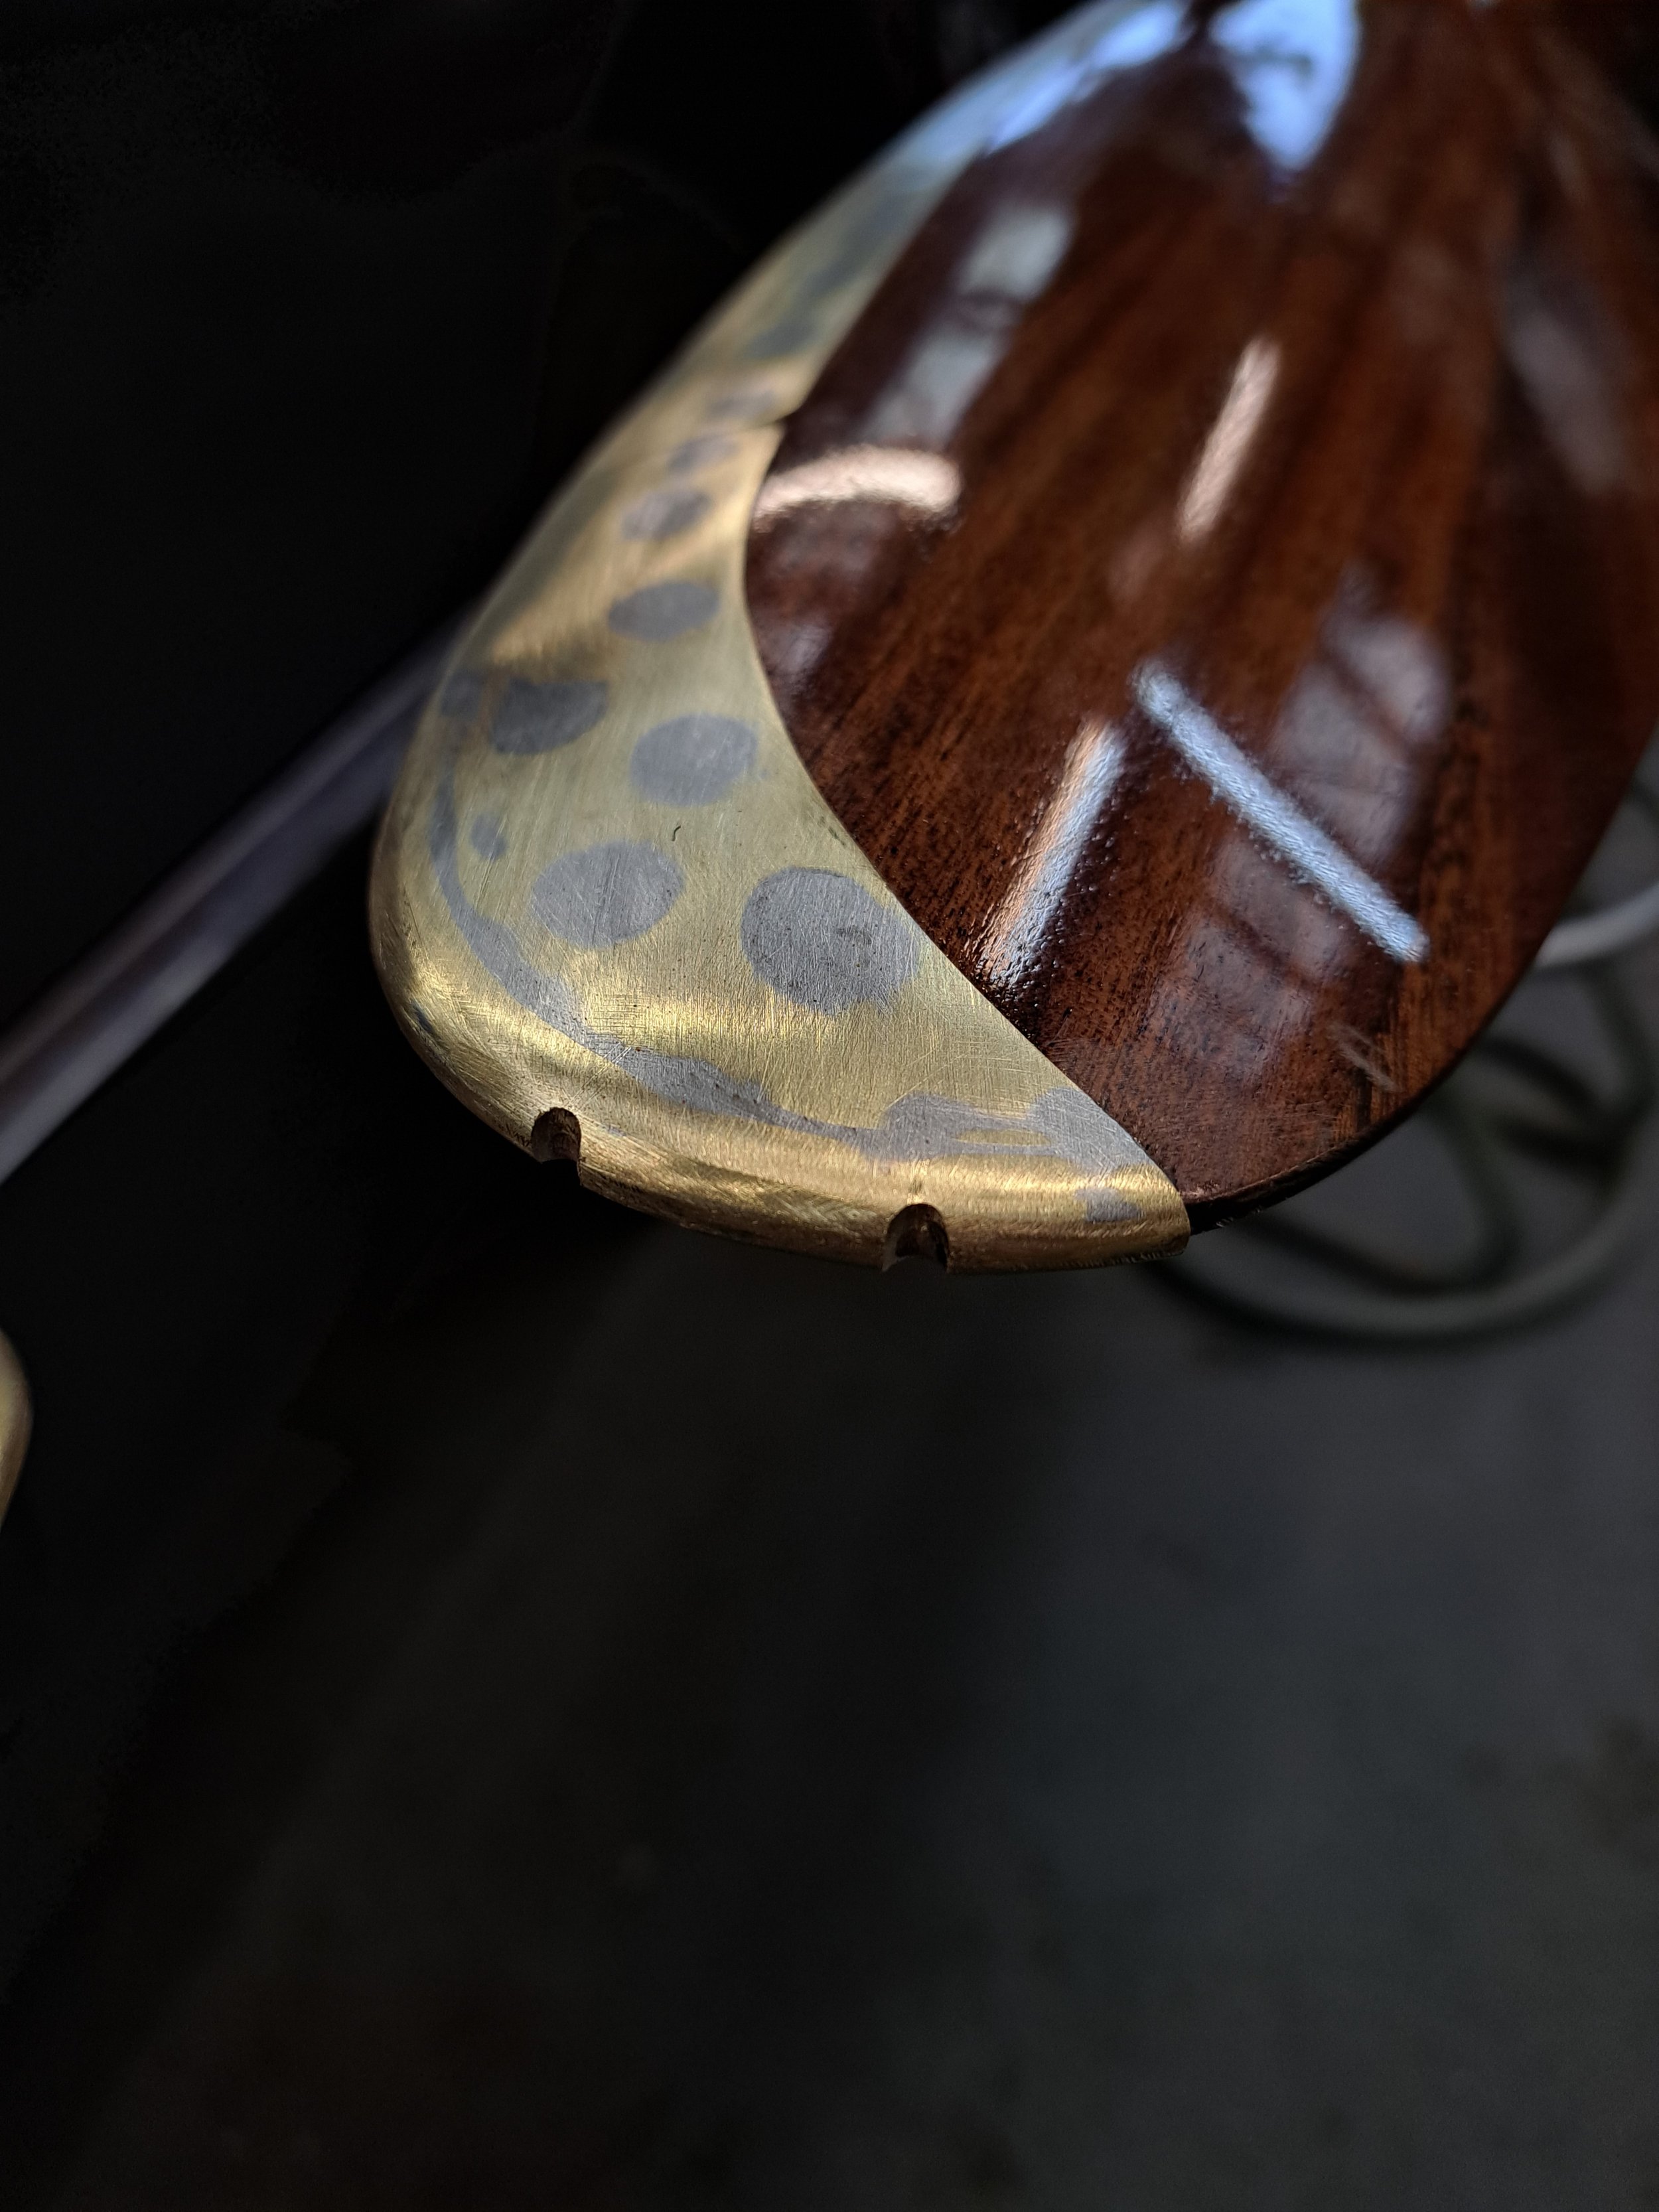
The completed brass work on a Tiger Moth propeller. The two holes in the end of the tip aren't a mistake - they're there in case water happens to find its way under the brass, and the centrifugal force, once the prop is spinning, can get rid of it through these holes!
Soldered and ready to be filed and finished
A Tiger Moth prop all complete

Close-up of the filed and finished solder job

CLICK HERE TO GO BACK TO THE MAIN GALLERY TO VIEW EVEN MORE PHOTOS!